This is an internal documentation. There is a good chance you’re looking for something else. See Disclaimer.
Incamail
How to setup Incamail
1. Licence / install the Module
Licence the module as needed and install it by adding the optional/incamail dependency to your customer project.
build.gradle
implementation project(':optional:incamail')
module-info.java
requires nice.optional.incamail;
2. Set application.properties
In config.yml, add the following for production only:
<customer-name>
  <prod-name>:
    env: !merge
      incamail.dev.mode: false
      incamail.wsdl.location: https://ws.incamail.com/3.0/?wsdl
See also Ansible: Properties and Env. Vars.
Hint
If it is desired to leave dev mode enabled during the pilot phase, add the property commented out and add a comment that it should be commented in when going live.
Warning
If incamail.dev.mode is enabled (default) the mails will not be sent. They will only be saved as E-Mail archive entries!
Incamail WSDL Locations as of 2021-12-01.
Production: https://ws.incamail.com/3.0/?wsdl
3. Add incamail account(s) to tocco
Warning
All incamail accounts to be used in tocco, must be licenced / enabled for “Enterprise Application Integration” / “IncaMail for business software”.
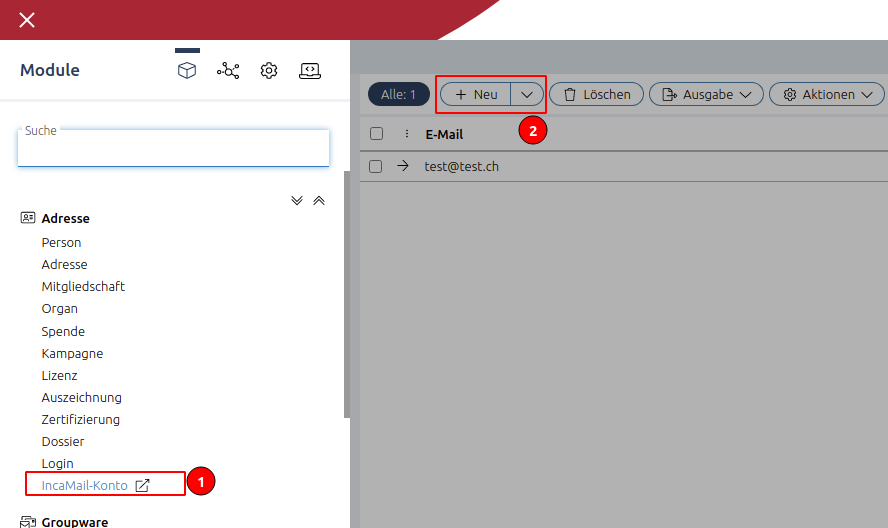
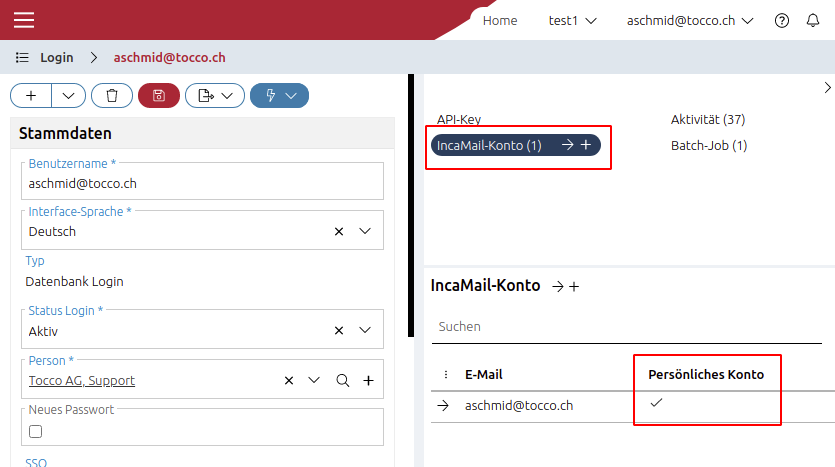
In tocco backoffice navigate to IncaMail account / “IncaMail-Konto” and add all administrator managed IncaMail accounts. To add an IncaMail account the e-mail address and password are required.
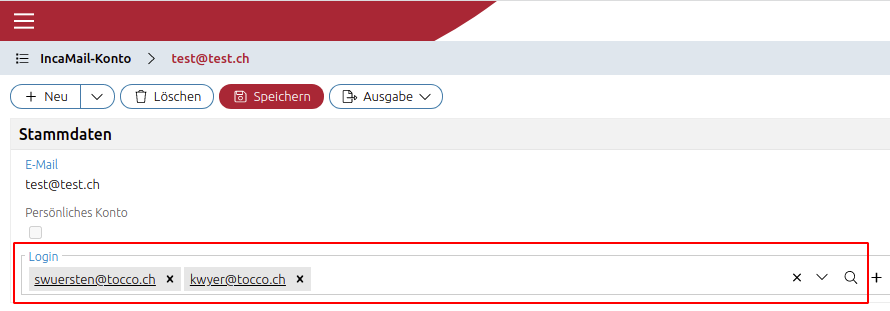
These administrator managed IncaMail accounts have to be assigned to tocco principals:
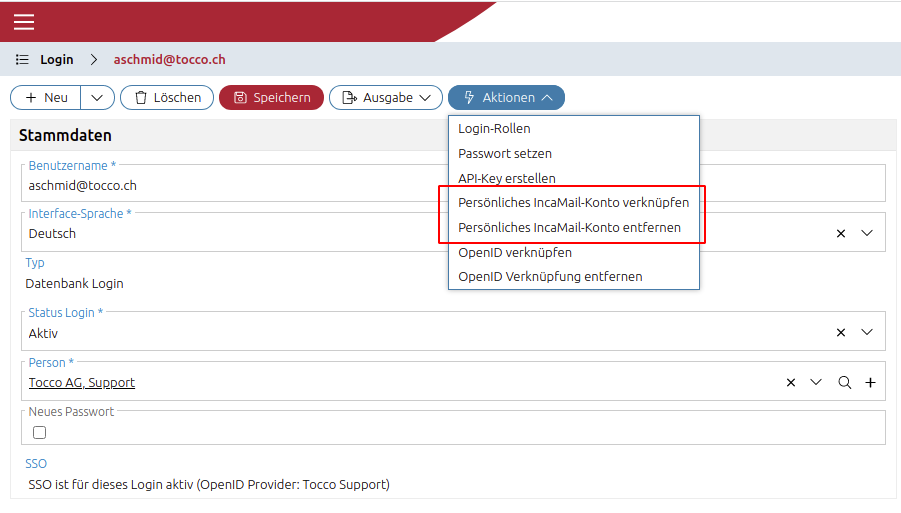
To add a personal incamail account the respective user can navigate to his own principal (detail page) and add it using the action “Link personal IncaMail account” / “Persönliches IncaMail-Konto verknüpfen”.
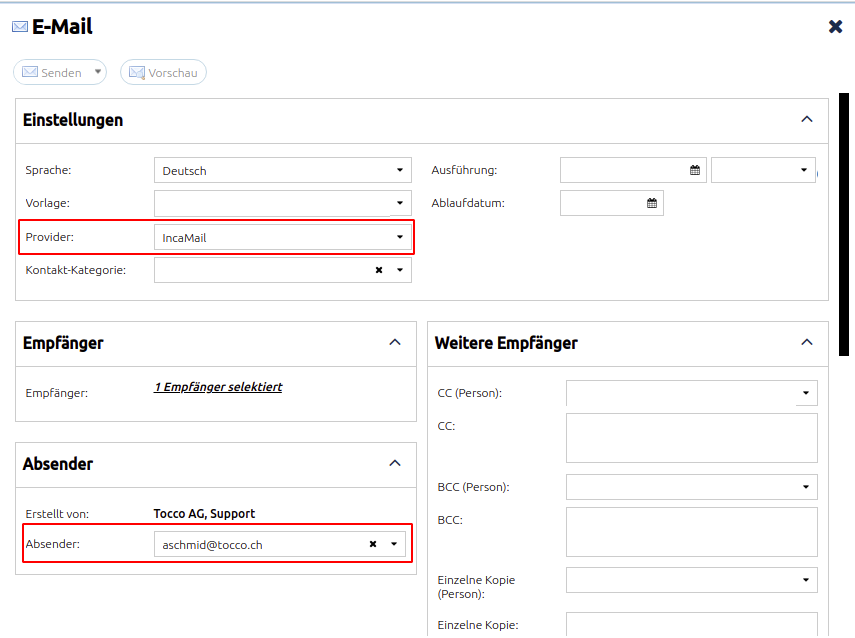
4. Use incamail
If everything was setup correctly, you should be able to send IncaMails using the standard E-mail action. To do so select provider IncaMail. After selecting the provider, there should be a sender dropdown with all IncaMail eligible accounts for your principal.