This is an internal documentation. There is a good chance you’re looking for something else. See Disclaimer.
Set up Wireguard VPN (Mac Edition)
Configure VPN
Install Wireguard:
Install client from https://www.wireguard.com/install/#macos-app-store. Do not install CLI tools listed at the bottom which are unmaintained and outdated.
Generate private / public key pair:
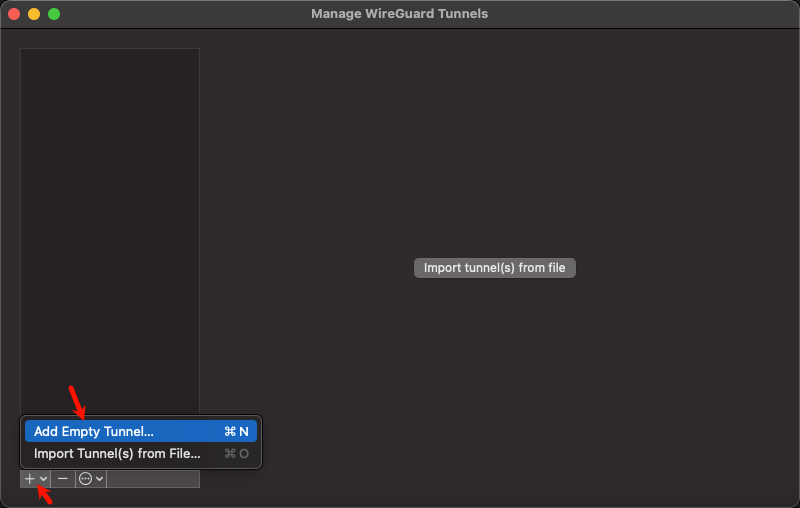
Add a new empty Tunnel in the “Manage WireGuard Tunnels” Menu:
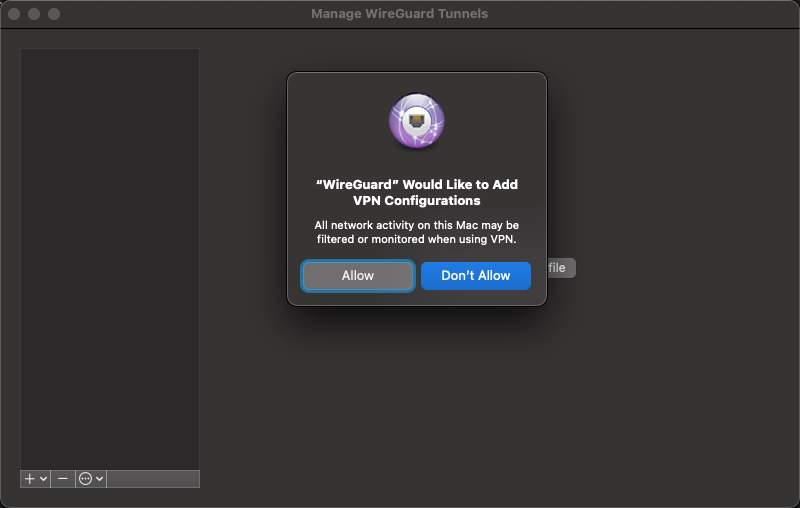
Allow adding of VPN Configurations:
This will generate an “empty” VPN configuration with a public and private key:
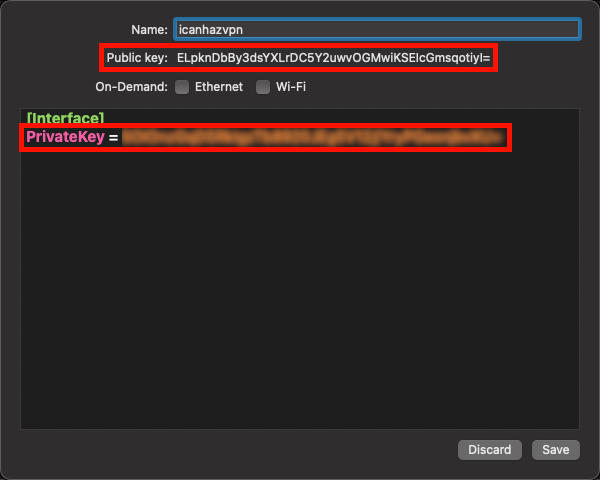
Submit the public_key to Operations Public channel and ask to be granted VPN access.
Make sure you keep the private_key, you’ll need it.
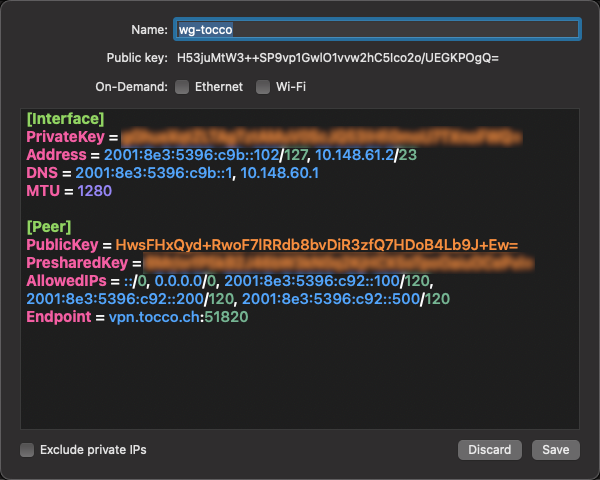
You’ll get a VPN config back. Replace the XXX placeholder in it with your private_key.
Add this configuration to your previously created VPN tunnel:
Warning
Make sure to not overwrite the private key when pasting this configuration!
Important
This is a per-device key. Generate a fresh key if you need access on an addational device. Using the same key on two devices will not work.
Test VPN
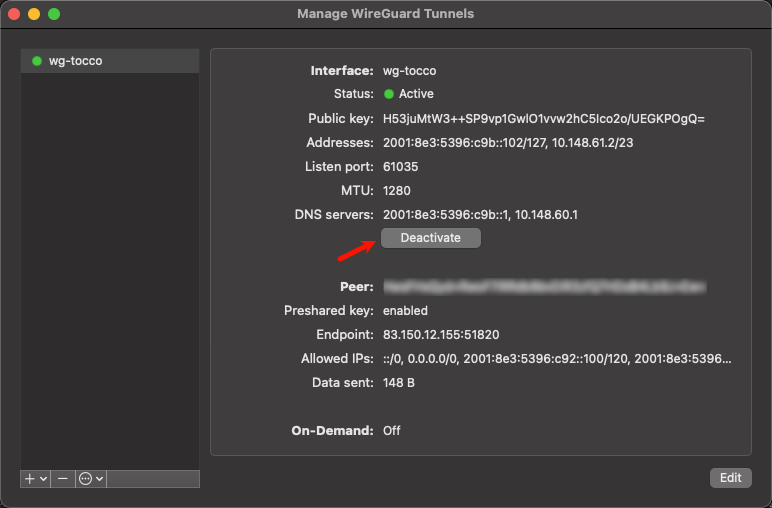
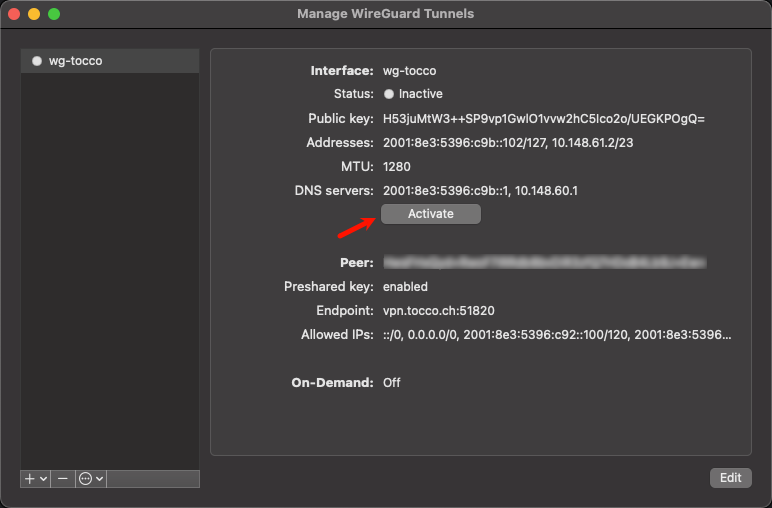
Enable VPN:
Activate the config2
Test connection:
ping -A -c 3 10.148.60.1
ping6 -c 3 2001:8e3:5396:c9b::1
ping -A -c 3 tocco.ch
Disable VPN:
Deactivate the config:
