This is an internal documentation. There is a good chance you’re looking for something else. See Disclaimer.
Add Customer Module
Adding a new module contains the following steps:
Nr |
Required |
Description |
|---|---|---|
1 |
✔ |
|
2 |
✔ |
|
3 |
||
4 |
Add Module in Backoffice
Each existing module (core, optional and core) must be documented in our Backoffice. This is important because depending on the documented modules the dependencies will be generated for customer modules.
Open the Entity
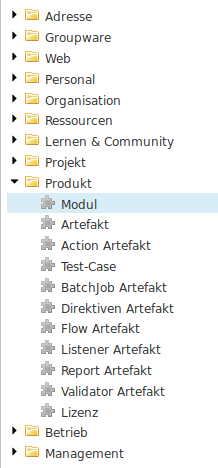
Modulein the backoffice
Create a new Module entitiy
Set a good technical name. The technical name should be the same as it will be called in the folder structure of the nice project
Set the correct type of the module. One of
core,optional,customerorbetween.
Add all required modules. Depending modules are all modules which are used by the new module. This is important because if this module later is added to a customer all depending modules also need to be added to the customer.

Create Basic Folder Structure
A new customer module can be created using the command gradlew createNewModule -P moduleType=customer -P moduleName=<name>.
This command creates the necessary folder structure and project files and registers the new module in the settings.gradle file.
Add dependencies
As mentioned earlier, for every customer module you create, there needs to be a corresponding
module defined in BO. This definition includes dependencies on all optional modules
(called marketing modules in BO) that a customer has licensed. This information can be used
to generate the dependencies for inclusion in build.gradle and module-info.java. For this
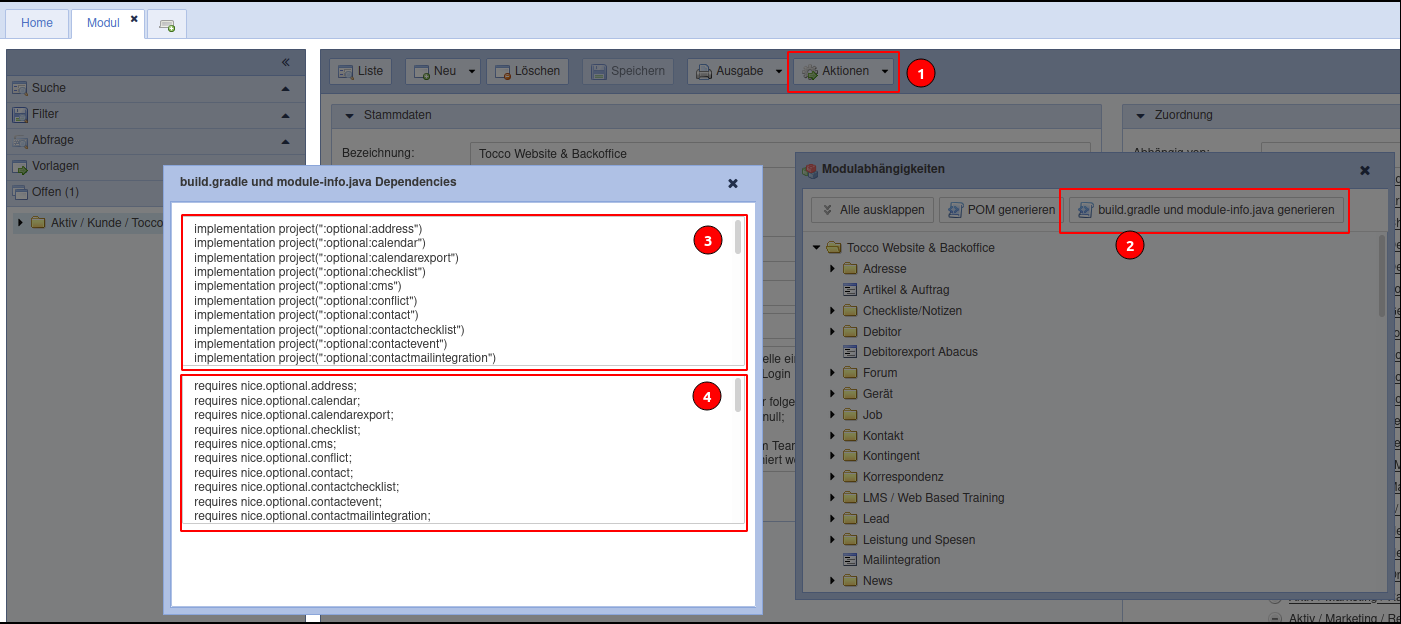
go to the customer module and generate the dependencies as shown in the following screenshot:

dependency generation in BO
Important
The generated dependencies can be incorrect under certain circumstances. Go through them and ensure they are correct.
Add dependencies to existing customer/${CUSTOMER}/build.gradle (3) and
customer/${CUSTOMER}/src/main/java/module-info.java (4):
Configure Application
${CUSTOMER}/src/main/resources/application.properties was created, edit it as needed:
i18n.locale.available=de-CH,en,fr-CH,it-CH  # languages available on the system
i18n.locale.default=de-CH                   # fall back language

nice2.dbrefactoring.businessunits=unit1,unit2  # comma separated list of Business Units
Languages and business units can bo found in BO on Installation.
See also Application Property Implementation.
Add Content to module Folder
Inside the module folder customer/${CUSTOMER}/resources different folders which configure the module can
be added. Here are the most common use cases:
model
The model folder must be added as soon as you need to
add or adjust entities or relations -> see Entities and Relations
add or adjust text resources -> see Text-Resources
add or adjust forms (list, search, detail) -> see Forms
add or extend a menu (settings or modules) -> see Menu
add reports -> see Reports
db Inside the db folder changesets are placed. See document Changesets.
acl Inside the acl folder all acl rule files are located. See chapter ACL
resources Inside the resources folder JS files are placed. For actions and public flows.
outputtemplate Inside this folder FTL templates are placed which for example can be used for reports.
Add Java Source Folders
Java code (e.g. for listeners, actions, services, rest-resources, …) can be added to the
src/main/java folder and should be placed in a impl package.
impl -> the implementation of the module specific Java code
Include Resources in Archive
build.gradle defines which resources will be included in the generated archive. By default all files / file patterns
defined in ext.resourceIncludePattern of the root build.gradle are included. If module requires additional files
this must be declared on the “top level” of the module specific build.gradle.
resourceIncludePattern << 'resources/font/*'
resourceIncludePattern << 'resources/reporting/*.ftl'

dependencies {
//...
}